
[微前端实战]---038 请求数据
原文出处:https://blog.csdn.net/qq_35812380/article/details/126562155
后端服务-请求数据
一. 添加启动命令
build/run.js
...

const filePath = {
...
  // 添加启动service命令
+  service: path.join(__dirname, '../service')
}
...
runChild()新建router/vue2.js
1.1 KOA get请求
const router = require('koa-router')()

router.prefix('/vue2') // 添加前缀 http://localhost:3000/vue2

router.get('/car/list', function (ctx, next) {
  // ctx.request.query   // 获取Get请求参数

  ctx.body = [
    {
      img: 'https://youjia-image.cdn.bcebos.com/modelImage/f9037020cac55360e436c2a4add6cef9/16593358938844266694.jpg@!1200_width',
      name: '沃尔沃'
    },
    {
      img: 'https://youjia-image.cdn.bcebos.com/modelImage/f9037020cac55360e436c2a4add6cef9/16593358938844266694.jpg@!1200_width',
      name: '沃尔沃'
    },
    {
      img: 'https://youjia-image.cdn.bcebos.com/modelImage/f9037020cac55360e436c2a4add6cef9/16593358938844266694.jpg@!1200_width',
      name: '沃尔沃'
    },
    {
      img: 'https://youjia-image.cdn.bcebos.com/modelImage/f9037020cac55360e436c2a4add6cef9/16593358938844266694.jpg@!1200_width',
      name: '沃尔沃'
    },
    {
      img: 'https://youjia-image.cdn.bcebos.com/modelImage/f9037020cac55360e436c2a4add6cef9/16593358938844266694.jpg@!1200_width',
      name: '沃尔沃'
    },
    {
      img: 'https://youjia-image.cdn.bcebos.com/modelImage/f9037020cac55360e436c2a4add6cef9/16593358938844266694.jpg@!1200_width',
      name: '沃尔沃'
    },
    {
      img: 'https://youjia-image.cdn.bcebos.com/modelImage/f9037020cac55360e436c2a4add6cef9/16593358938844266694.jpg@!1200_width',
      name: '沃尔沃'
    },
    {
      img: 'https://youjia-image.cdn.bcebos.com/modelImage/f9037020cac55360e436c2a4add6cef9/16593358938844266694.jpg@!1200_width',
      name: '沃尔沃'
    },
  ]
})

router.get('/bar', function (ctx, next) {
  ctx.body = 'this is a users/bar response'
})

module.exports = routerasync getCarList() {
const res = await axios.get('http://localhost:3000/vue2/car/list?a=1&b=2')
this.carList = res.data
}新建router/react17.js
1.2 KOA post请求
const router = require('koa-router')()

router.prefix('/react17') // 添加前缀 http://localhost:3000/react17

router.post('/login', function (ctx, next) {
  // ctx.request.body   // 获取POST请求参数
  ctx.body = 'this is respose'
})

module.exports = router axios.post('http://localhost:3000/react17/login', {
a: 1,
b: 2,
})
.then(res => {
console.log('登录成功')
})app.js 引入中间件和路由
...
// 注册koa中间件
+ const cors = require('koa-cors');   // 解决跨域

// 引入vue2的接口内容
+ const vue2 = require('./routes/vue2')
// 引入react17的接口内容
+ const react17 = require('./routes/react17')

...
+ app.use(cors());

// 注册routes
...
+ app.use(vue2.routes(), vue2.allowedMethods())
+ app.use(react17.routes(), react17.allowedMethods())

module.exports = app注意要注册中间件, 在注册路由文件, 然后打开浏览器请求服务.
跨域问题, 配置代理服务,见结尾.
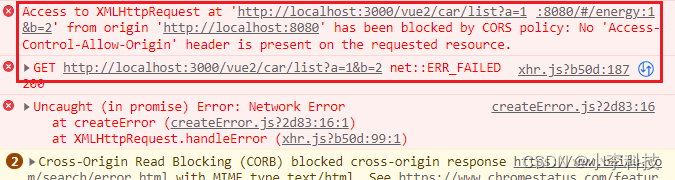
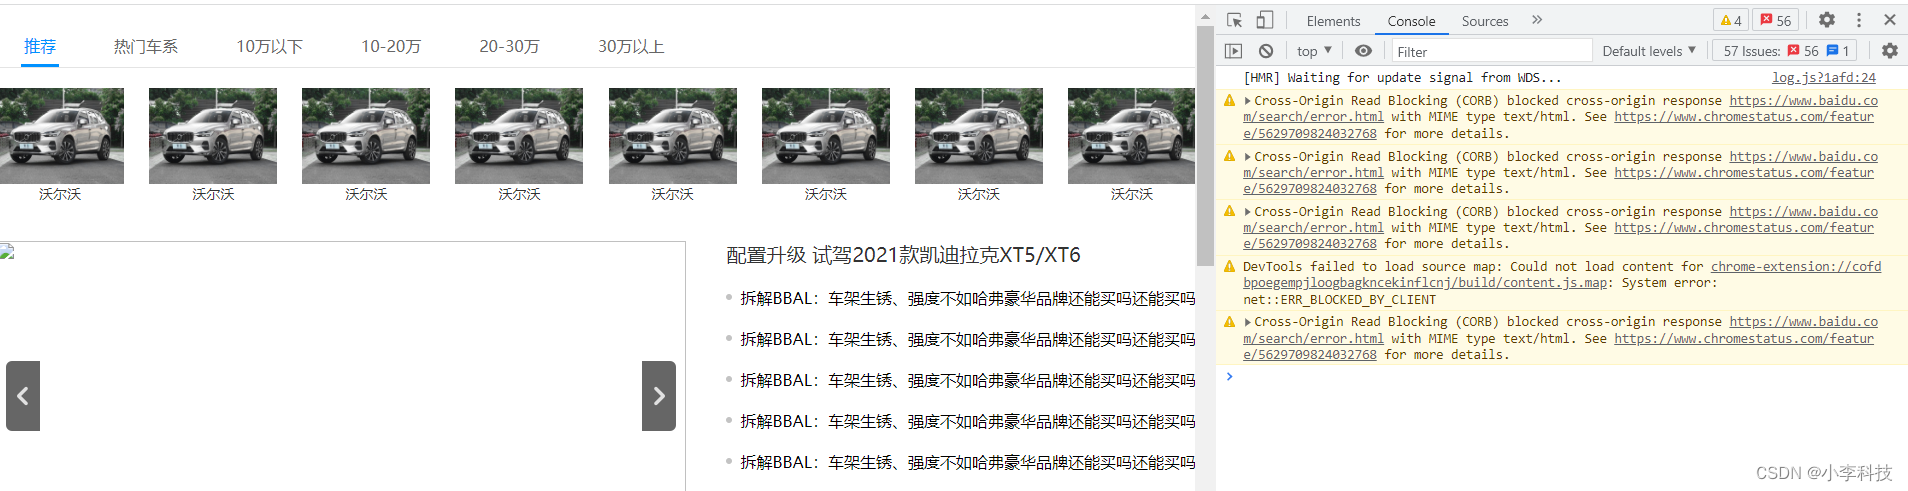
再打开
http://localhost:8080/#/energy, 发起get请求
http://localhost:8083/#/login, 发起post请求
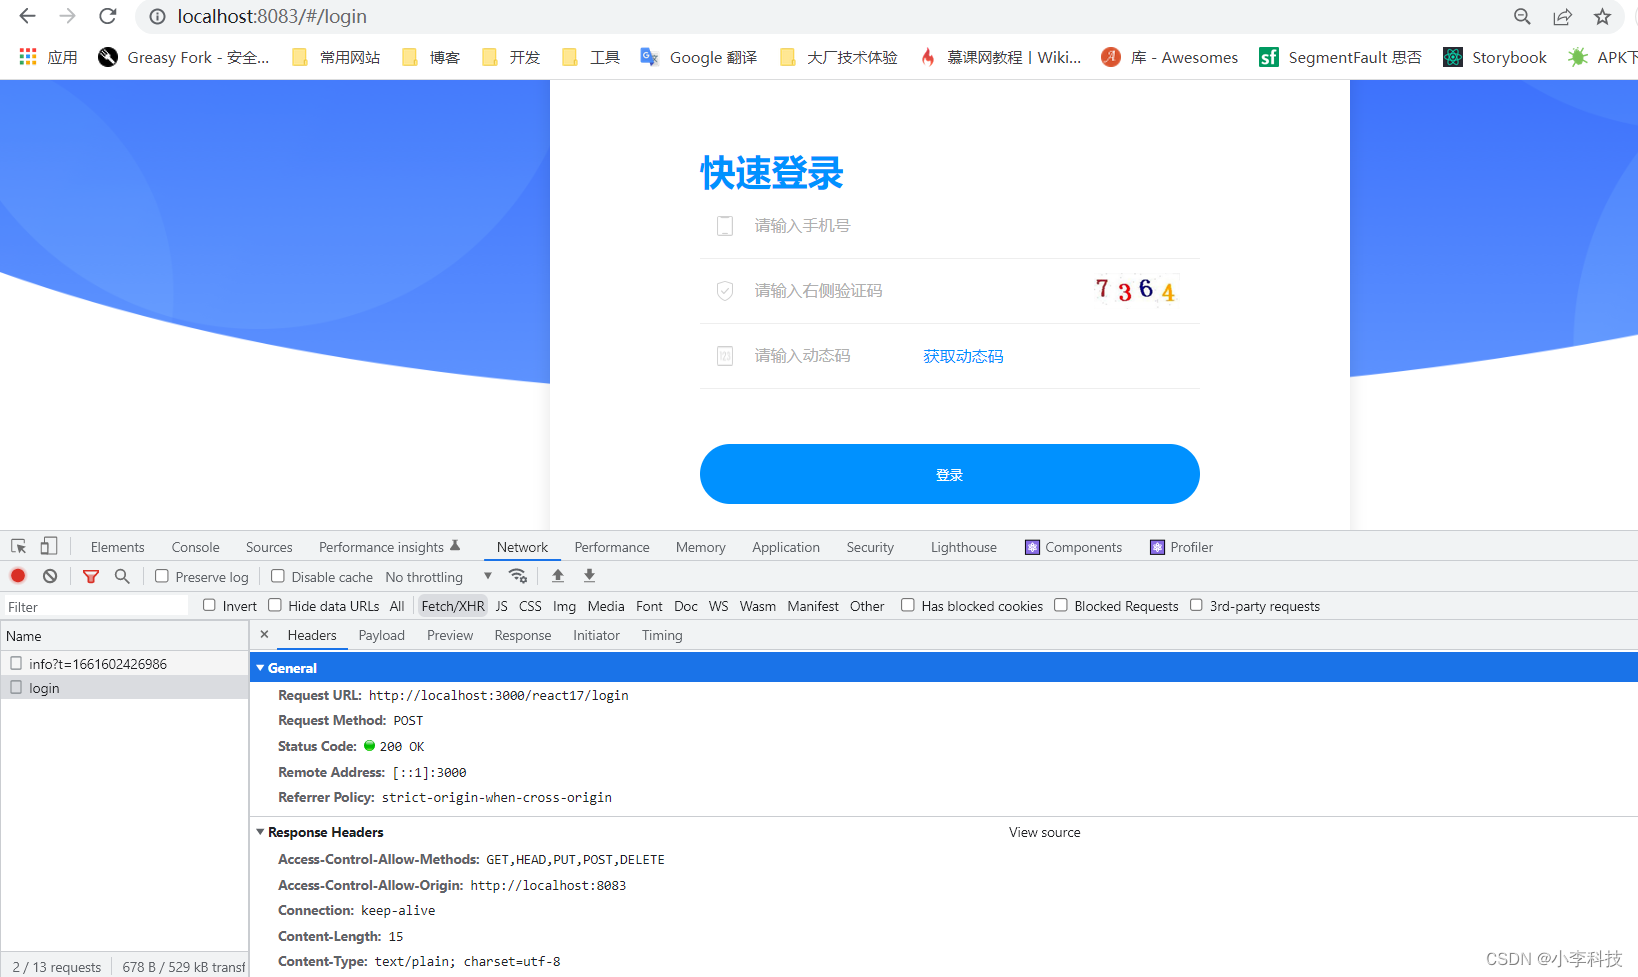
回顾.
- 将服务设置为可跨域状态
koa2-cors插件实现 - app.js 引入插件,
router文件 注册路由 - ctx.request.query // 获取get请求参数
- ctx.request.body // 获取post请求参数
- axios.get /axios.post
下一章, 将对项目进行微前端改造
配置中间件.
配置中间件
/service
$ cd service$ npm install koa-cors --save主要通过koa-cors插件来处理,共3个步骤:
①安装:
npm install koa-cors --save②引入:
const cors = require('koa-cors'); // 解决跨域③注册:
app.use(cors());ps:注意,要把 app.use(cors()); 放在路由的前面,坑已踩